
Article: How to hang a floating nightstand on the wall?
How to hang a floating nightstand on the wall?
For many people, DIY is a authentic hobby that allows you to spend hours and hours adapting your home to your taste. However, this isn't always the case, and sometimes it can become a real torture if you don't know how to act with the right order and manners. Kion Home We are among the first, we are passionate about furniture design and assembly. But we are aware that it is not always easy and even hang a nightstand on the wall can be a big headache.
That's why we've decided to publish this article, because we want to help you step by step so you have everything you need and nothing can stop you from getting the home you want.
What tools are needed to hang a nightstand on the wall?
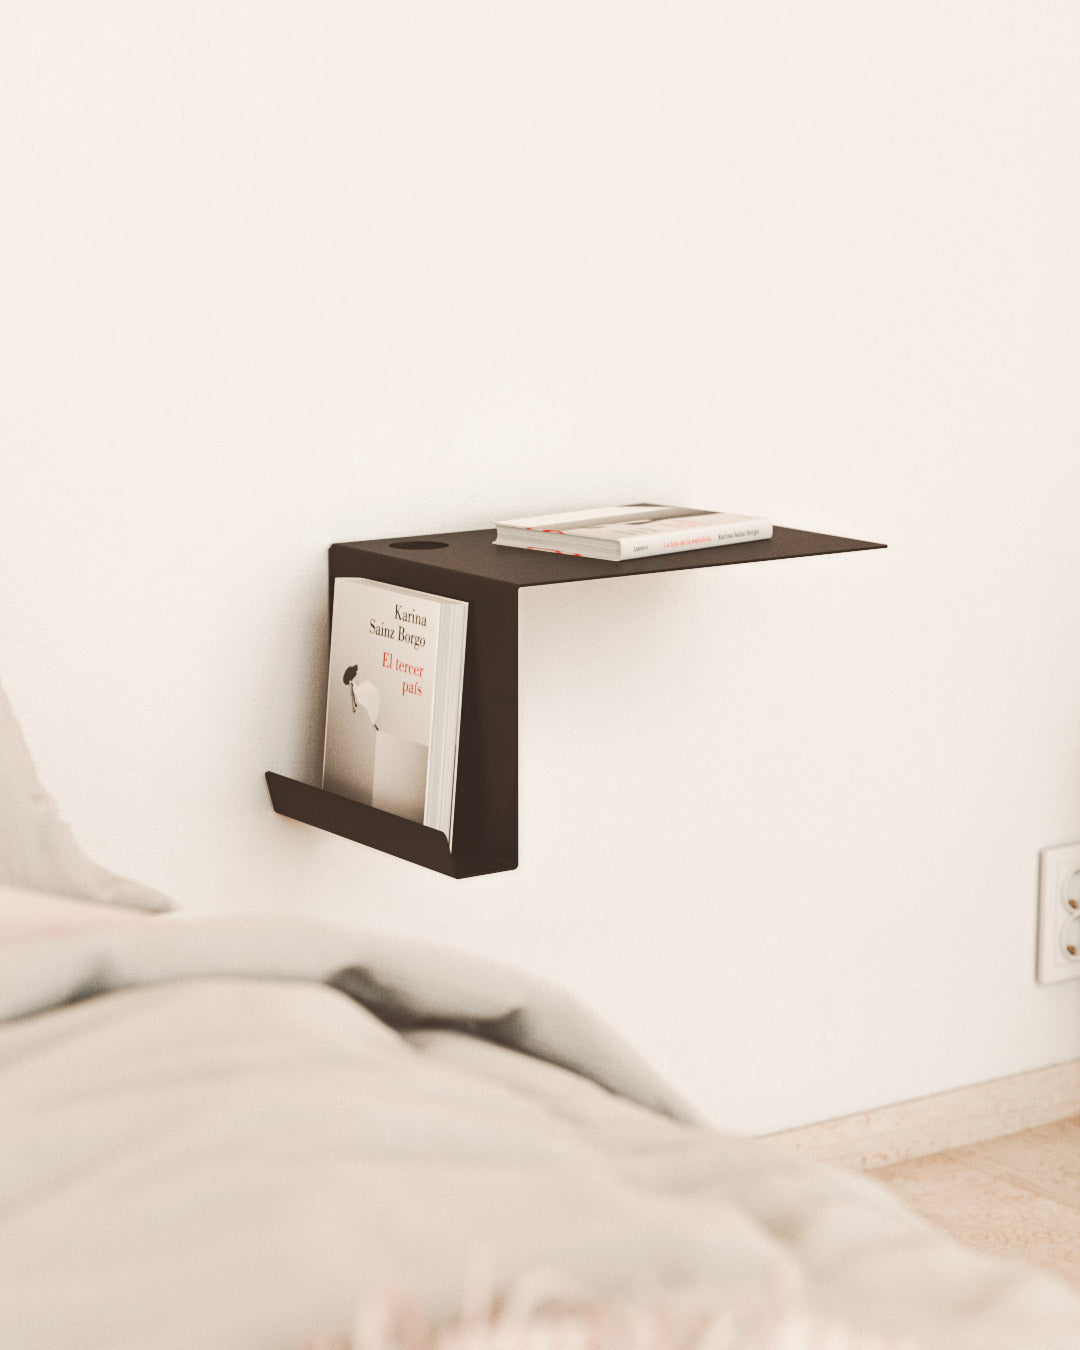
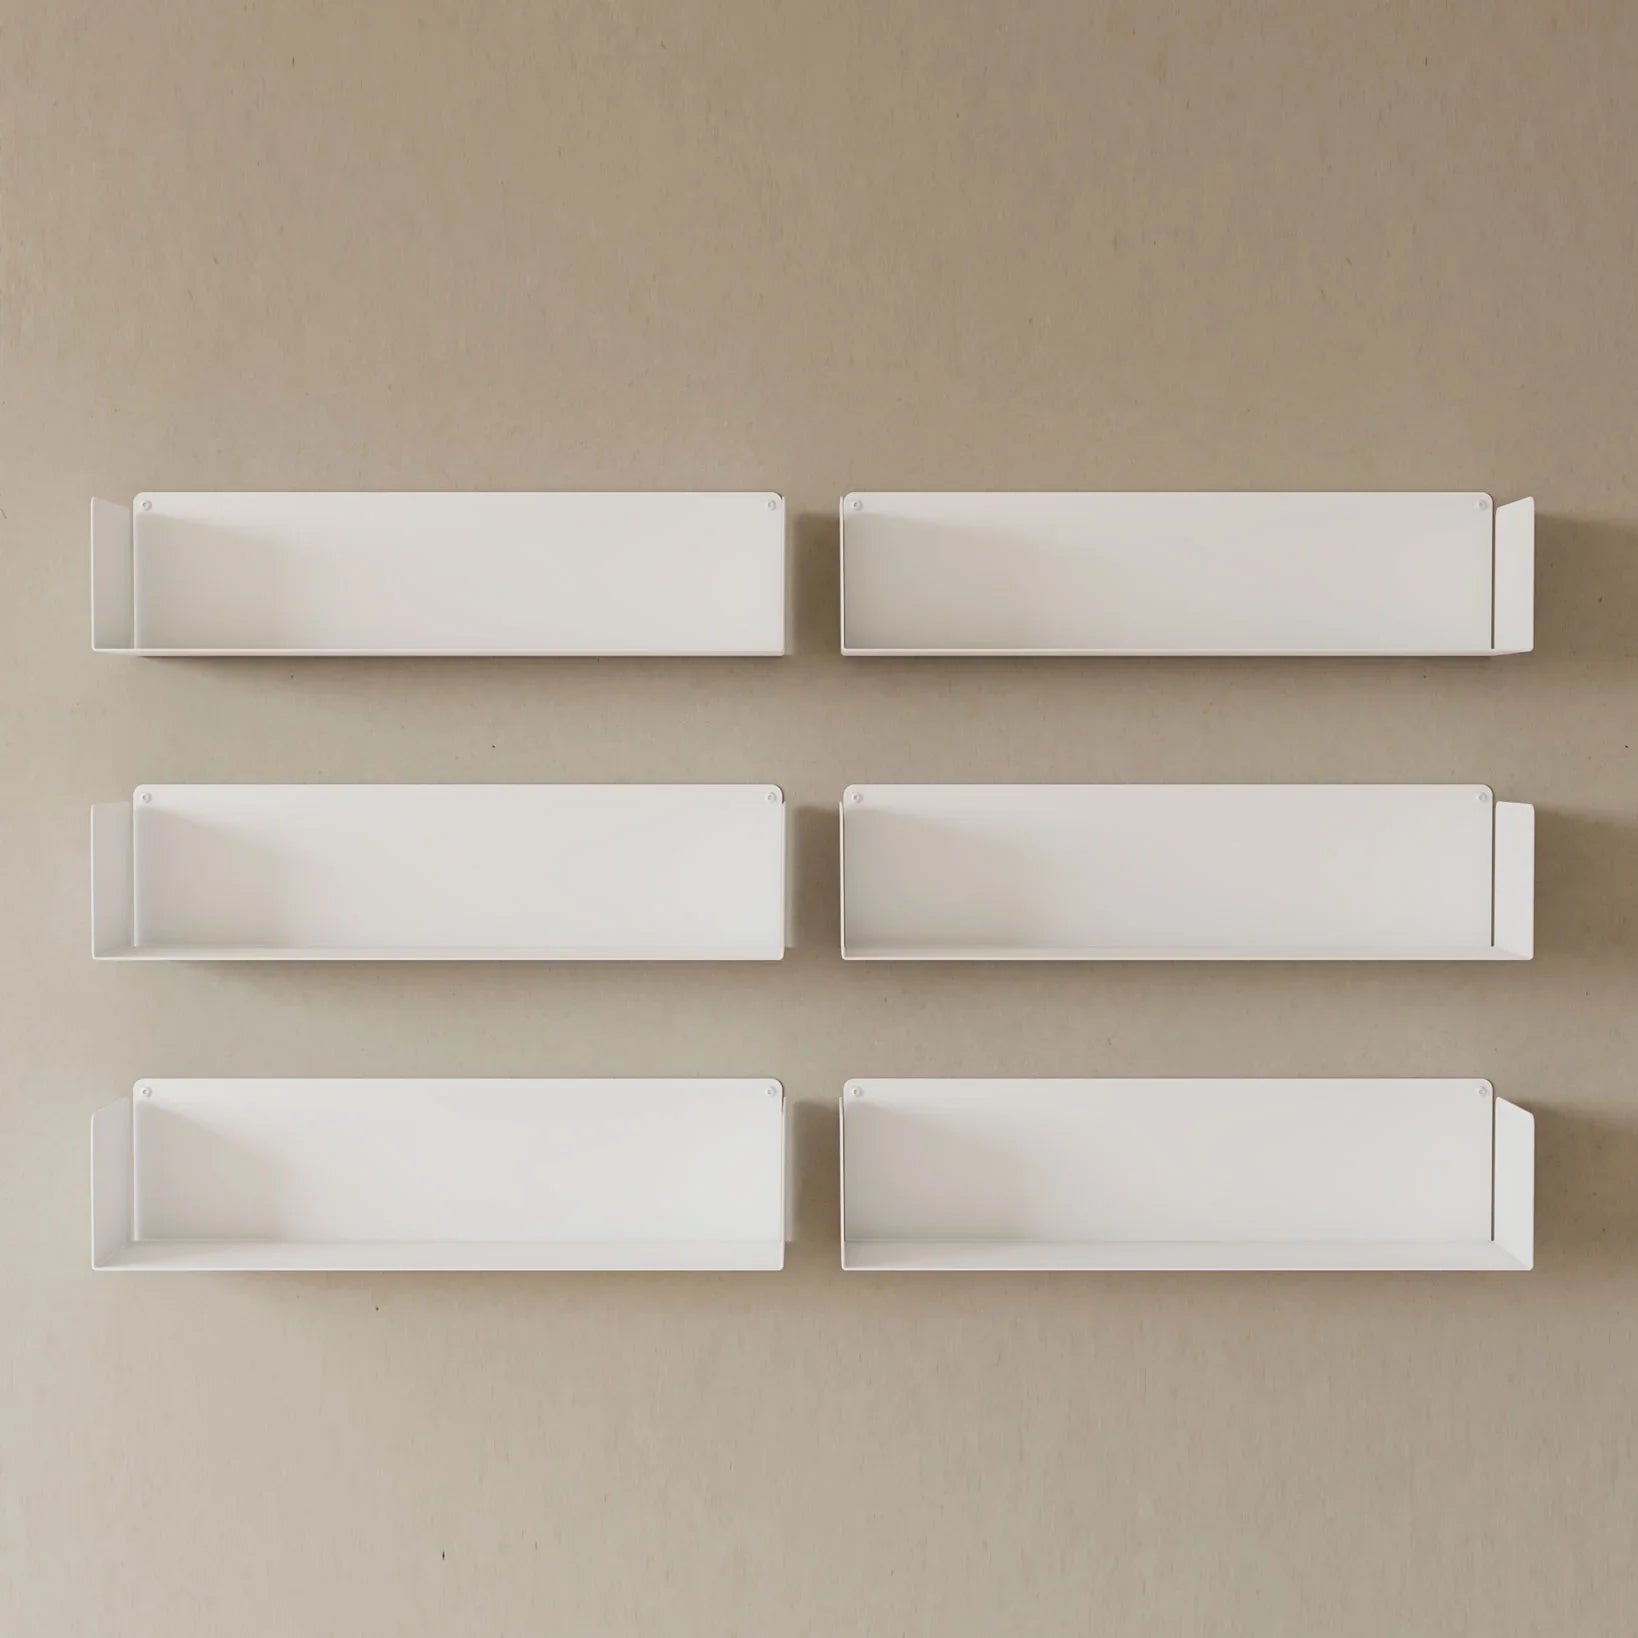
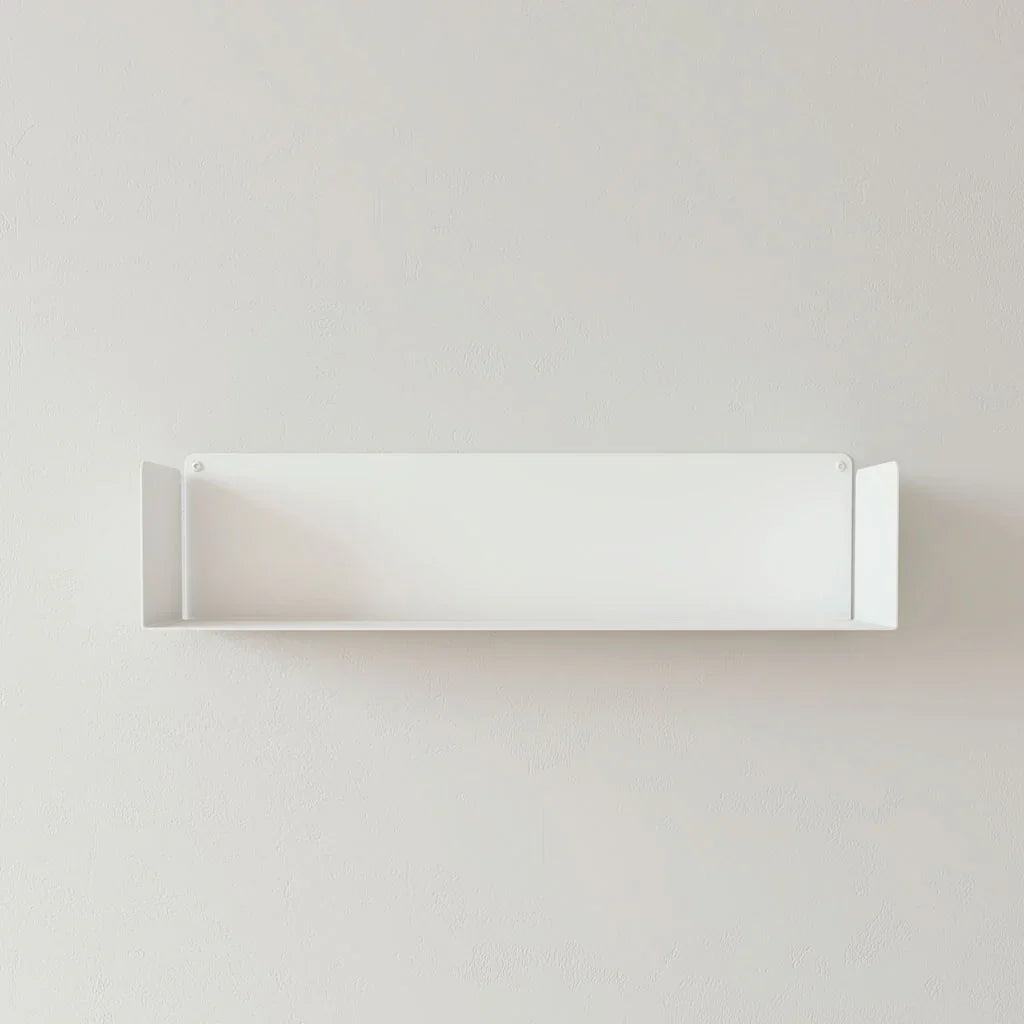
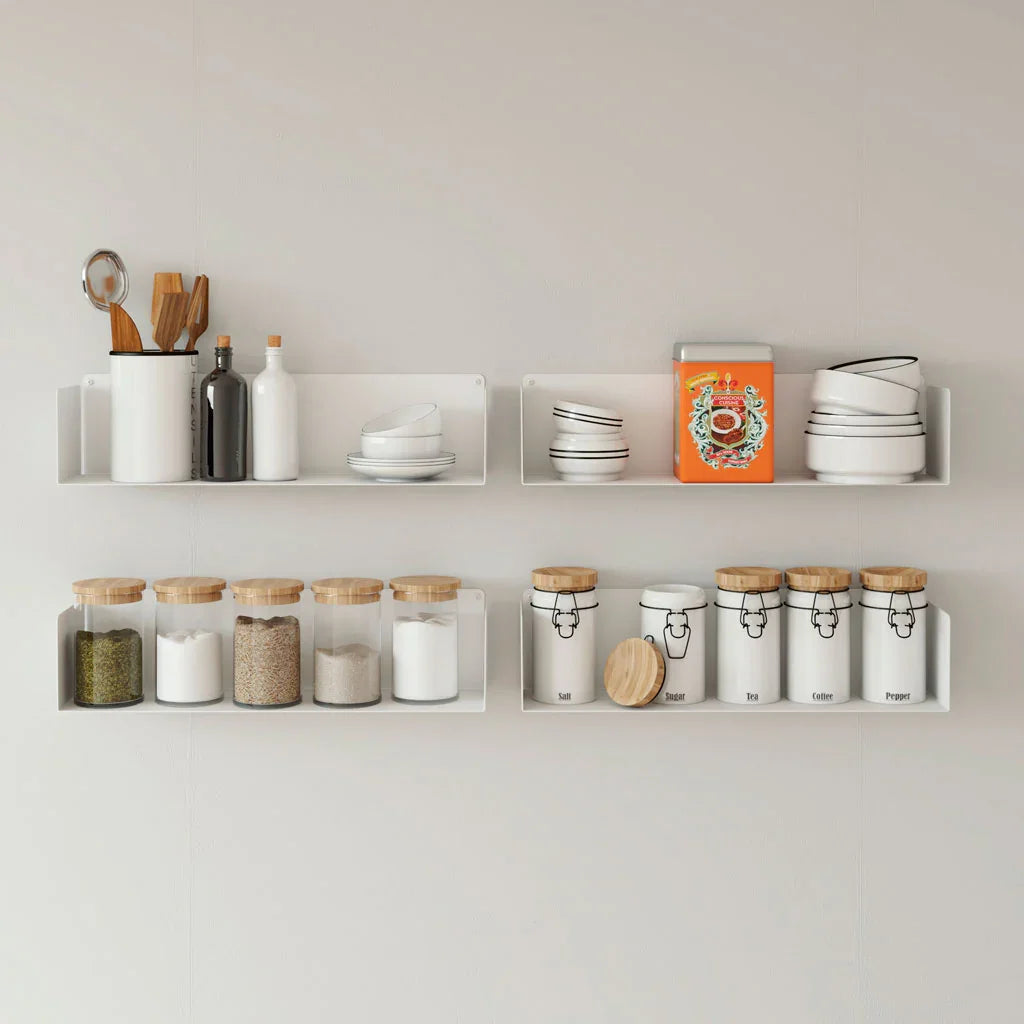
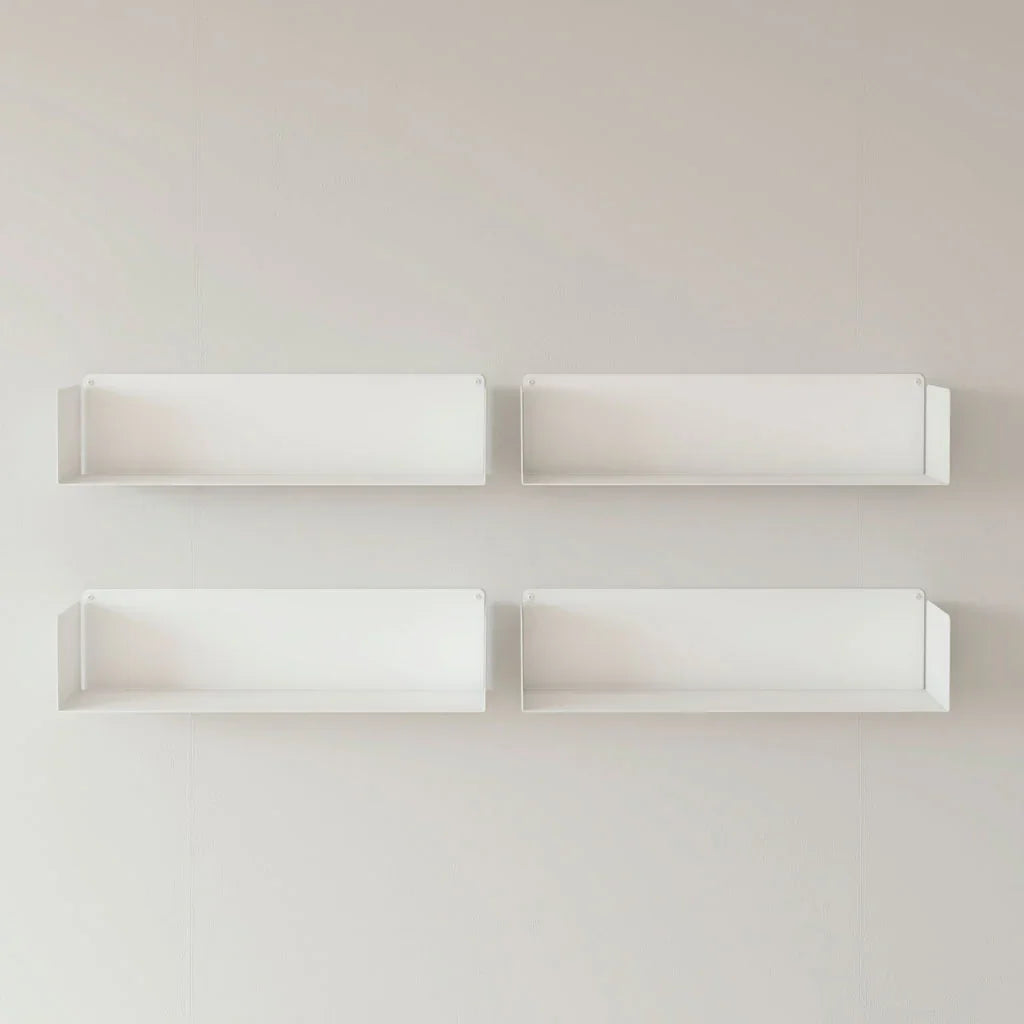
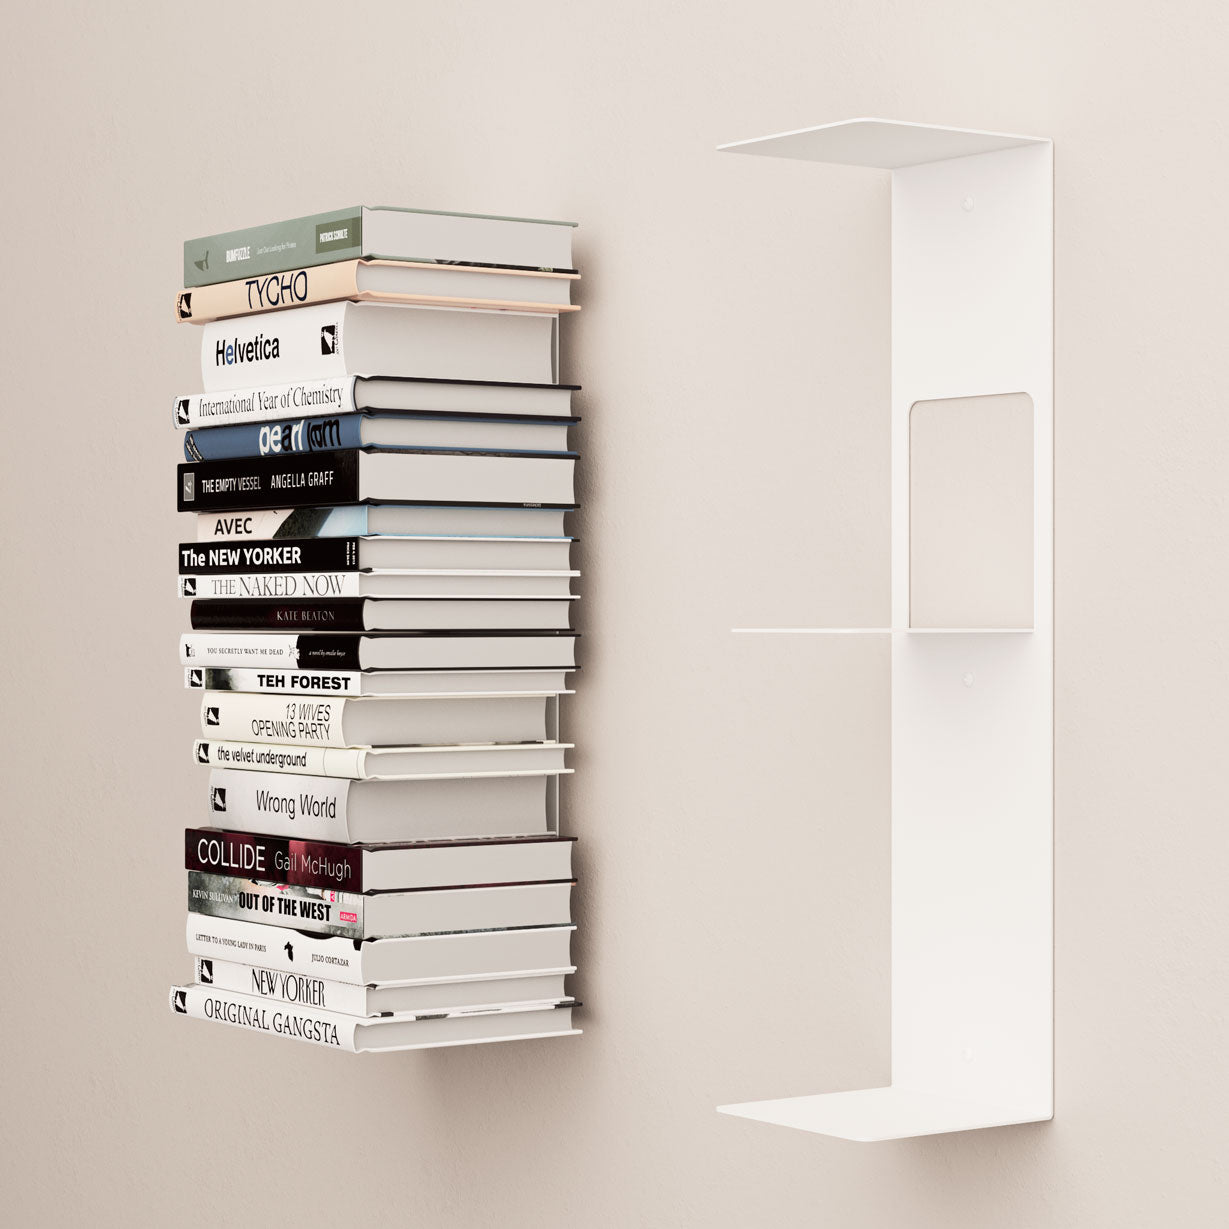
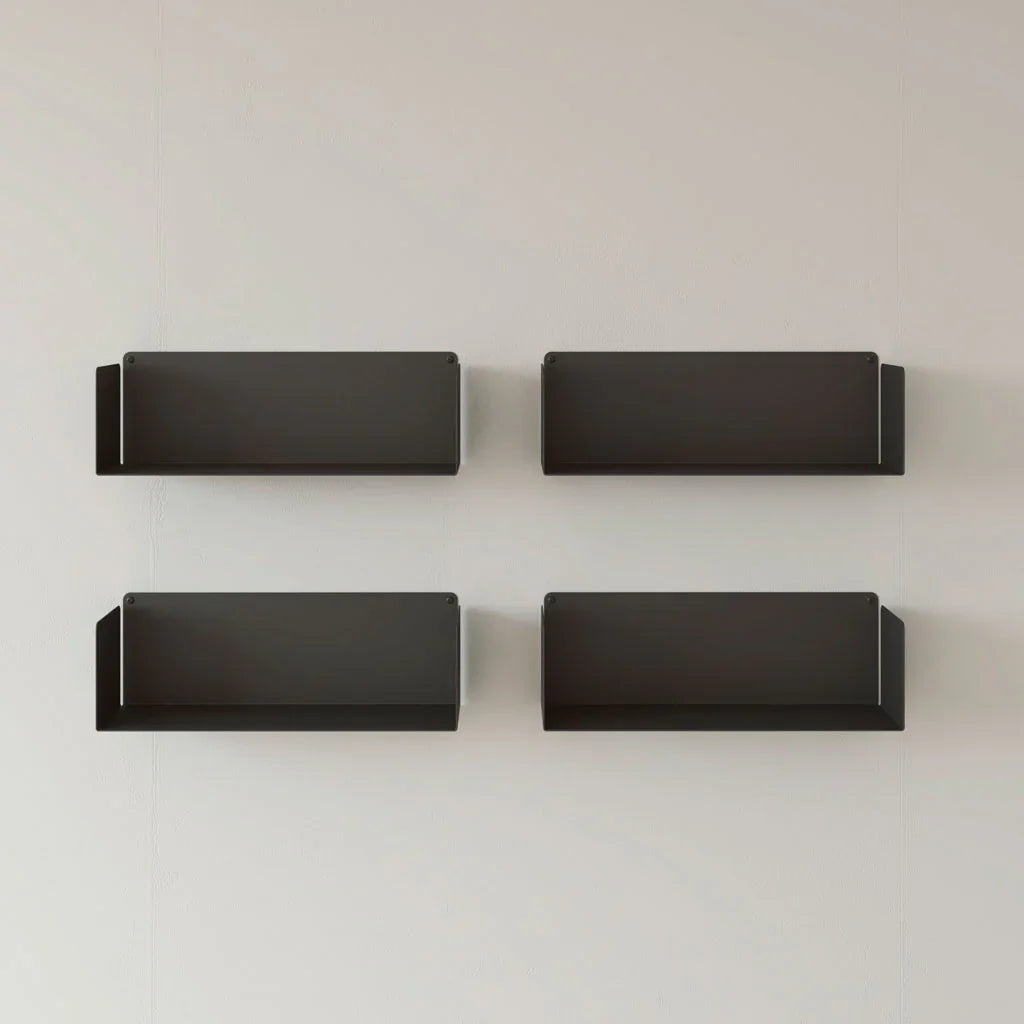
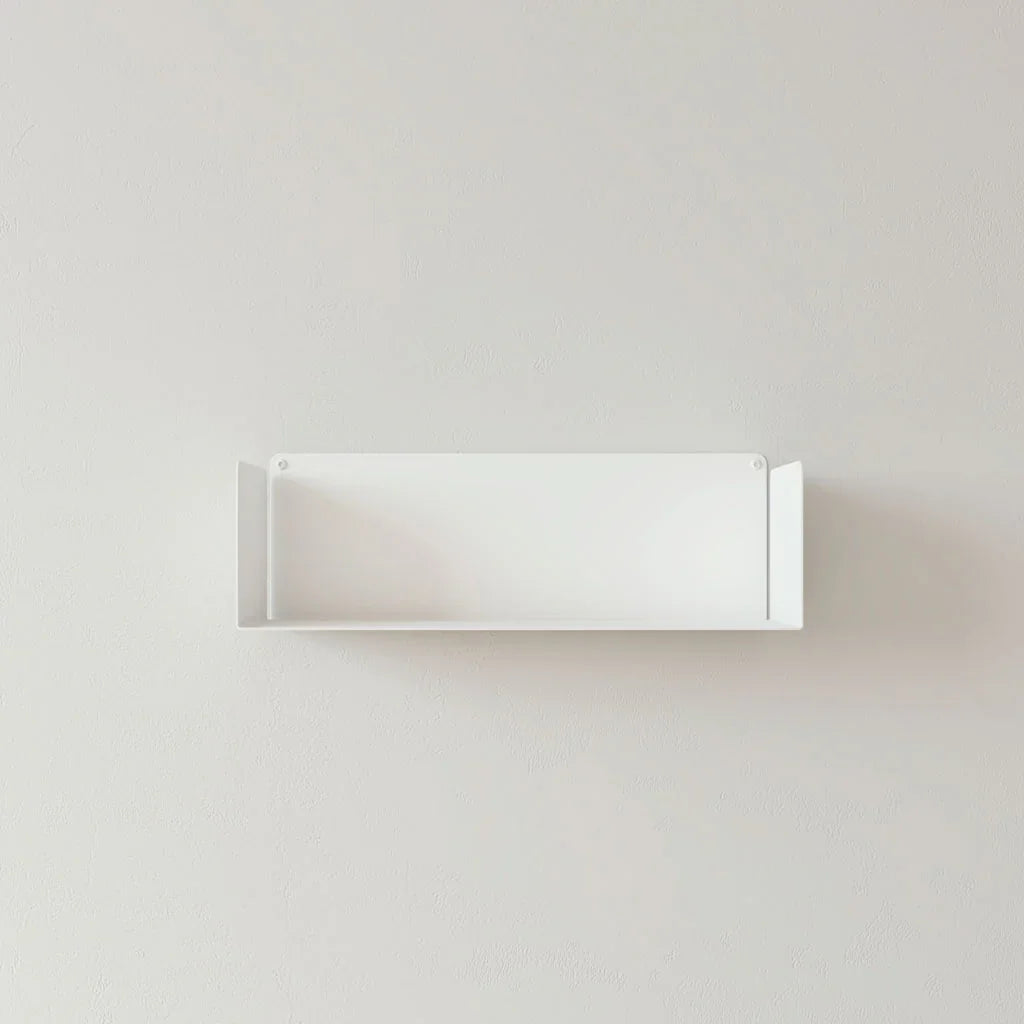
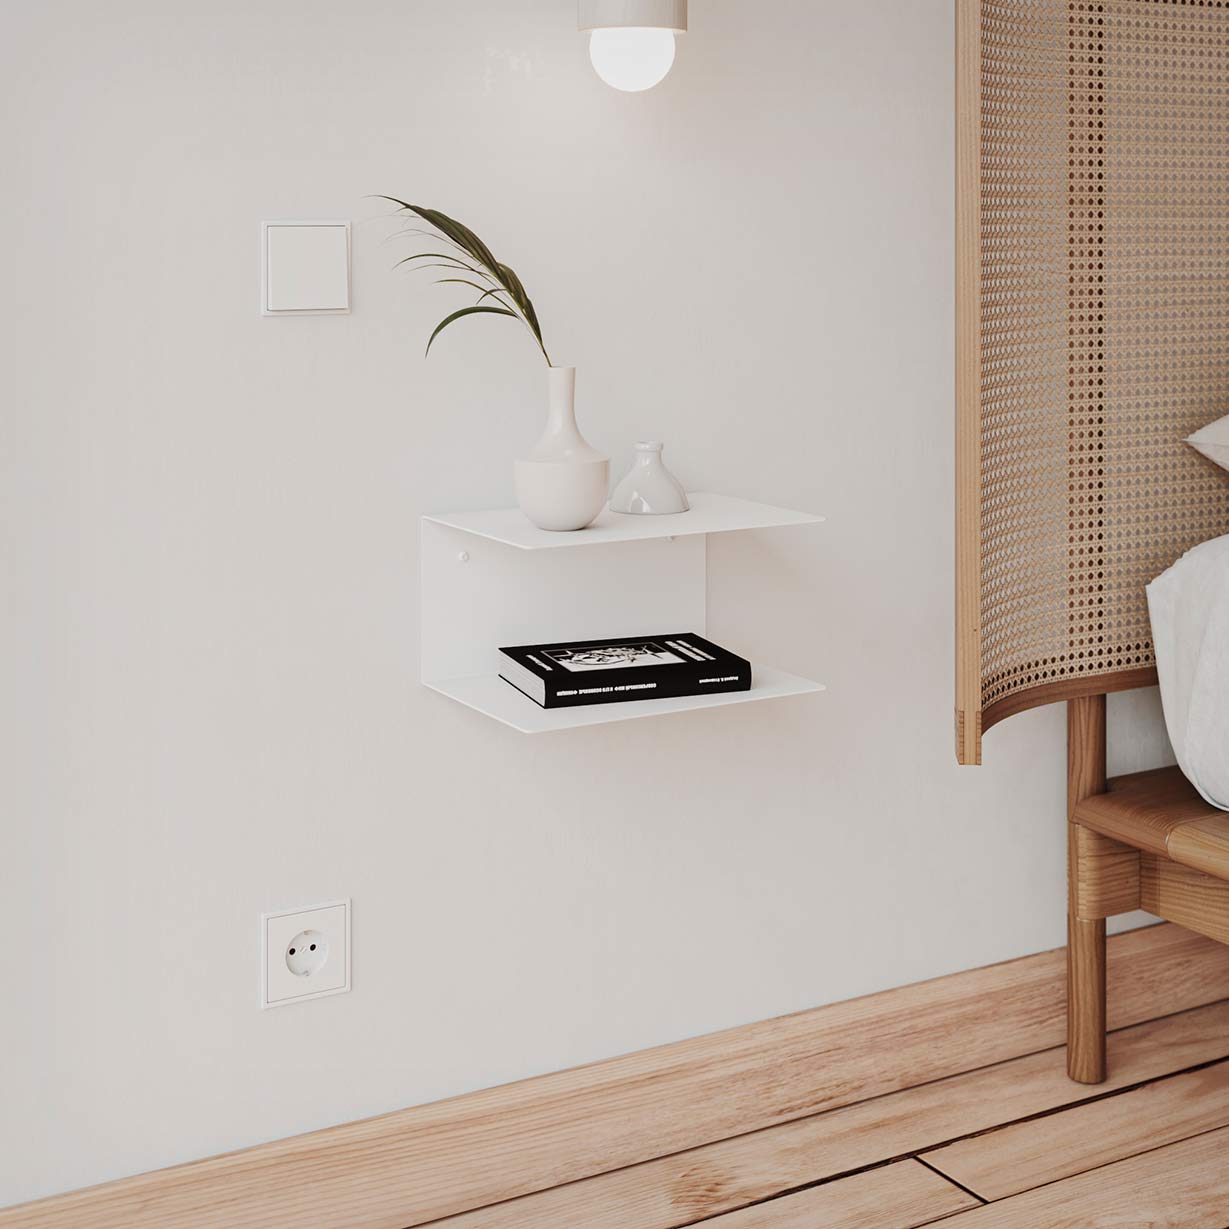
We are going to focus on the Alysa nightstand From Kion Home. If you're not familiar with it, it's a very elegant and minimalist model that allows us to save space in our bedroom, without losing any practicality. This bedside table is made in one piece Made of 2mm thick sheet steel. To install it, you only need a few plugs and screws, which are included in the package. In most cases, unless we're talking about very large nightstands, a longer process won't be necessary.
Well, to be able to hang a nightstand on the wall we will need the following tools:
- One meter.
- A pencil.
- One level.
- A drill/driver.
Decide on the type of drill you have depending on the material the wall is made of. For example, drilling into wood is not the same as drilling into brick. In that sense, we must obtain the appropriate equipment, or we risk a disastrous installation.

Steps to hang a nightstand on the wall
1. Make precise marks where you will make the holes
The only thing you will need in this first step will be the meter and pencil . Once you have chosen the space where you will hang the nightstand, it is a matter of preparing the ground to make the holes. Make sure that the structure is straight, the brands they must be parallel .
The process is as simple as Choose a common reference point , such as the floor, and using a tape measure, make two small cross-shaped marks corresponding to the two holes you'll need to drill next. The distance between them will be determined by the piece of furniture you've chosen, in this case the Alysa nightstand. So be sure to measure it first.
2. Preliminary drilling of holes and leveling
Before you start making the final holes, we recommend that you do a small approximation in the marks you've made, before digging in completely. This will help us see the balance or ensure we haven't touched any metal elements that could hinder our installation. Even with the help of another person and a level, we can check that the future installation will be parallel to the floor.
If we have made a mistake, it will be easier to patch, rectify, and repair those small marks than a deep hole.
3. Drill the holes and place the bedside table frame on the wall.
Once you have verified the type of wall and the type of drill bit you need to drill, choose the suitable size for the plugs and screws that the table needs, in our case, a 6 diameter drill bit for the 6 Duopower plugs that we send with the tables. Next, it is a matter of making the holes, to do this, stand on the marks that you have previously made and firmly make the final ones.
Finally, insert the plug and screw the furniture in. Now all that's left is to enjoy your nightstand and if it is Alysa , all the better.


